I am currently in the progress of fitting a new kitchen, the job is to rip out old kitchen, remove old doorway and make larger opening, remove existing shelving in utility room. Then fit new Miami style kitchen with Valencia black satin worktops, new plumbing and electrics for washing machine, new 6" white and black wall tiles and a new anthracite ceramic tiled floor, remove ceiling tiles skim with new plaster, new ceiling light and decorate throughout.
This is the kitchen plan.
I have now removed the doorway, fitted new lintol 1500mm wide and knocked out the brickwork to create a new opening. Next step was to plaster all the holes where the old shelving was, and around the new frame.
The next job is to install new plumbing and an electrical point for the washing machine that is going in the utility room.
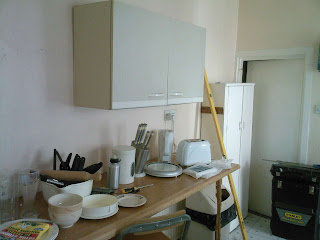
Now its time to remove the existing kitchen, ceiling tiles and floor tiles, skim the ceiling and make good to all areas. Then it will be time for a few coats of paint before I start to install the new kitchen.
The ceiling has now been reboarded with 9.5mm plasterboard due to the condition of the existing ceiling. I have also installed some extra plug sockets and made good to all the walls ready for the plaster.
The kitchen has now been re-plastered, time to start fitting the units and new worktops.
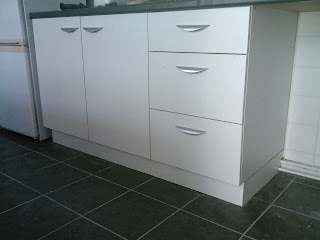
I have started to install the new units in the kitchen and utility room, worktops have been fitted and now time for the new sink, taps and waste.
The kitchen is starting to come together now, time to hang the doors and fit the handles and shelves.
The utility room is a big transformation from a cluttered pantry with shelving, to a utility room with plenty of storage.
Time to start the tiling and give the walls a coat of Duck Egg paint. It was decided to tile the whole of the bottom half of the kitchen as the walls were in a terrible state, I also fitted new architrave to hide the edge the new plaster had left.
The new radiator was then fitted,
and now its time to lay a new floor, grout the floor and wall tiles. Fit new plynths and any little bits that need attention.
I have started the tiling, Black porcelain.
The floor is now laid, just need to grout next.
I am using a light grey grout as this looks great with the black tiles and stays a lot cleaner than white.
Time to clean the tiles after grouting, looking rather good.
The finished floor after a good clean, now time to fit the plynths and grout the wall tiles.
New cooker fitted.
New washing machine fitted.
New ceiling light fitted.
Kitchen completed, just need to add the finishing articles.
This is the before and after photos.
Another happy customer and job completed by MB Carpentry Services.


